
The Ultimate Guide to Using a Laser for DIY Laser Cutter Projects
Are you looking to dive into the world of DIY laser cutter projects? If so, you’ve come to the right place! In this comprehensive guide, we’ll explore everything you need to know about using a and how it can transform your creative endeavors. Whether you’re a hobbyist or a professional, a laser cutter is an invaluable tool that opens up endless possibilities for cutting, engraving, and etching various materials. Let’s get started!
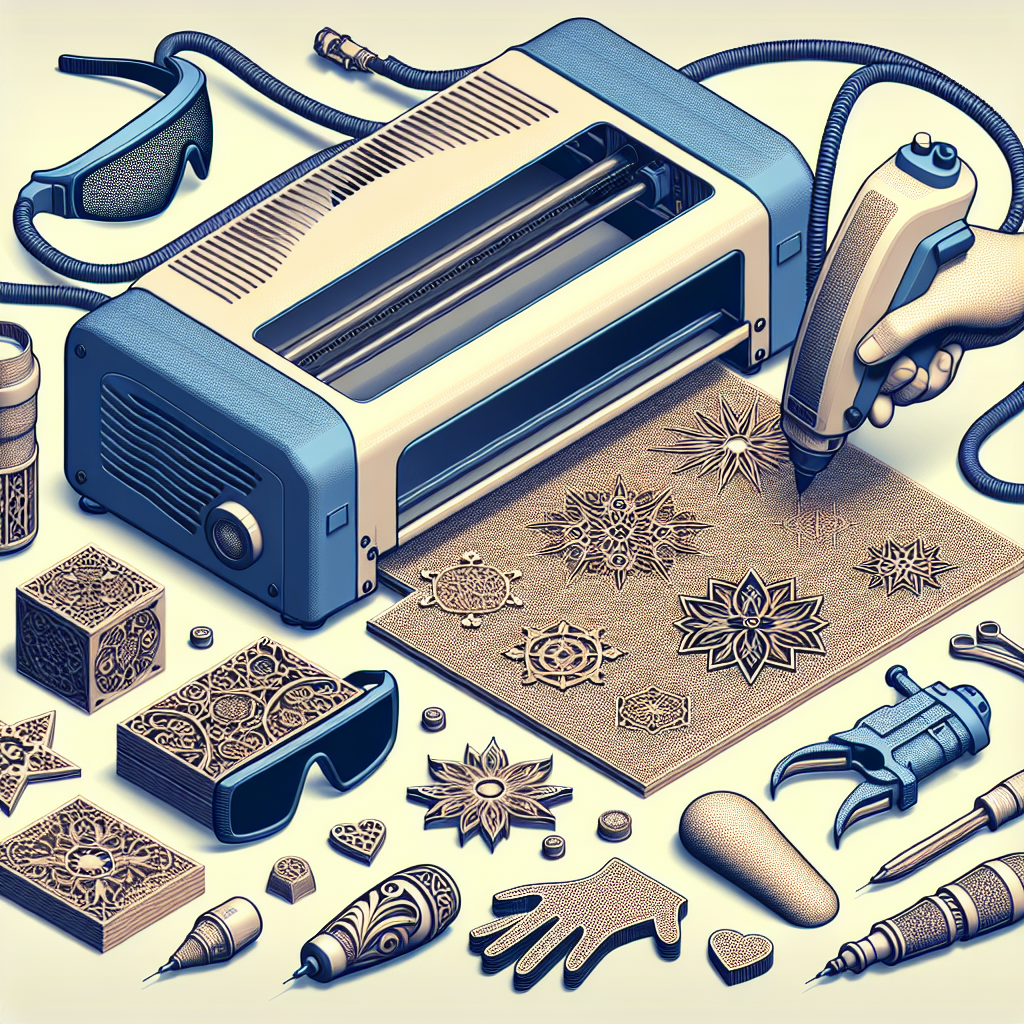
What Is a Laser Cutter?
A laser cutter is a machine that uses a focused beam of light to cut or engrave materials. The laser emits high-energy photons that are concentrated into a narrow beam, creating heat that melts, burns, or vaporizes the material being worked on. Unlike traditional cutting tools, lasers offer precision and versatility, making them ideal for both small-scale projects and industrial applications.
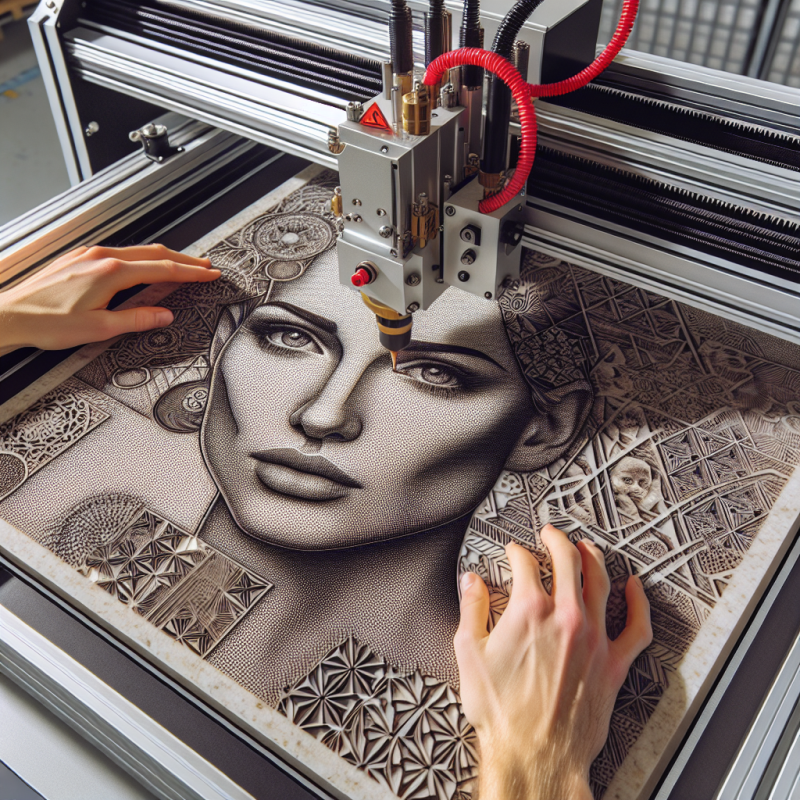
When it comes to DIY projects, a laser cutter is a game-changer. It allows you to create intricate designs, precise cuts, and professional-quality engravings without the need for expensive machinery or advanced skills. With the right equipment, such as the , you can bring your creative ideas to life in no time.
Key Features of a DIY Laser Cutter
Before diving into your next project, it’s essential to understand the key features that make a laser cutter stand out. Here are some of the most important aspects to consider:
- Laser Power: The power of the laser determines its ability to cut through different materials. Higher power lasers are suitable for thicker or harder materials, while lower power lasers are ideal for delicate projects.
- Cutting Speed: Cutting speed affects both precision and efficiency. A faster laser can complete projects quicker but may sacrifice some detail work.
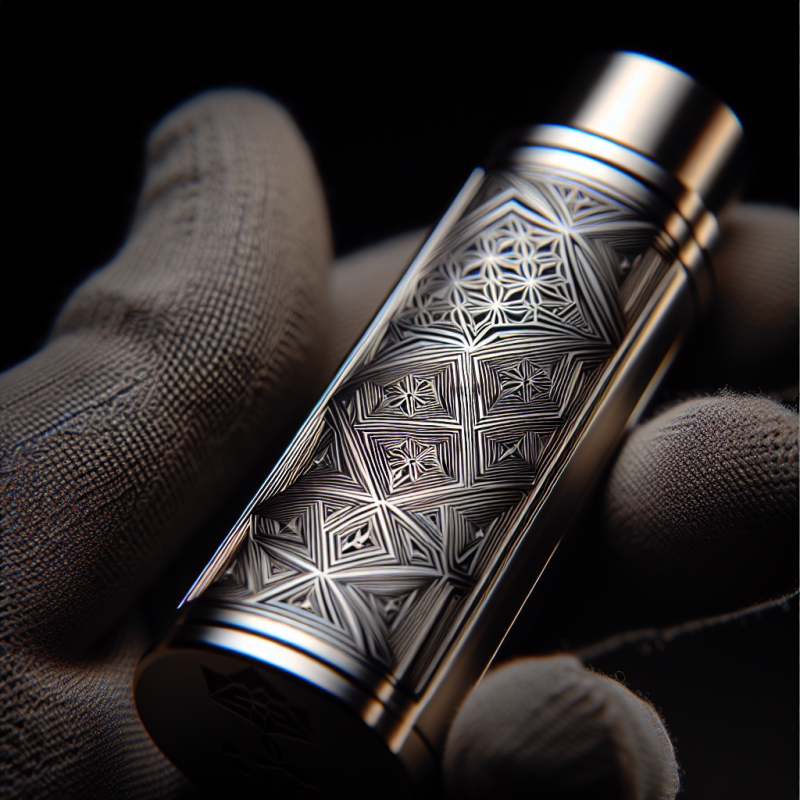
- Material Compatibility: Not all lasers are created equal when it comes to the materials they can work with. Ensure your laser cutter is compatible with the types of materials you plan to use, such as wood, plastic, metal, or glass.
- User-Friendly Interface: A good laser cutter should have an intuitive interface that makes it easy to control and program. Look for models with touchscreens or simple controls that allow for precise adjustments.
- Build Quality: Investing in a well-constructed laser cutter ensures durability and reliability. High-quality components reduce the risk of malfunctions and extend the lifespan of your machine.
When choosing a laser cutter, it’s important to balance these features based on your specific needs. For example, if you’re primarily working with thin materials, you may not need the highest-powered laser. On the other hand, if precision is critical for your projects, look for models with advanced optics and alignment systems.
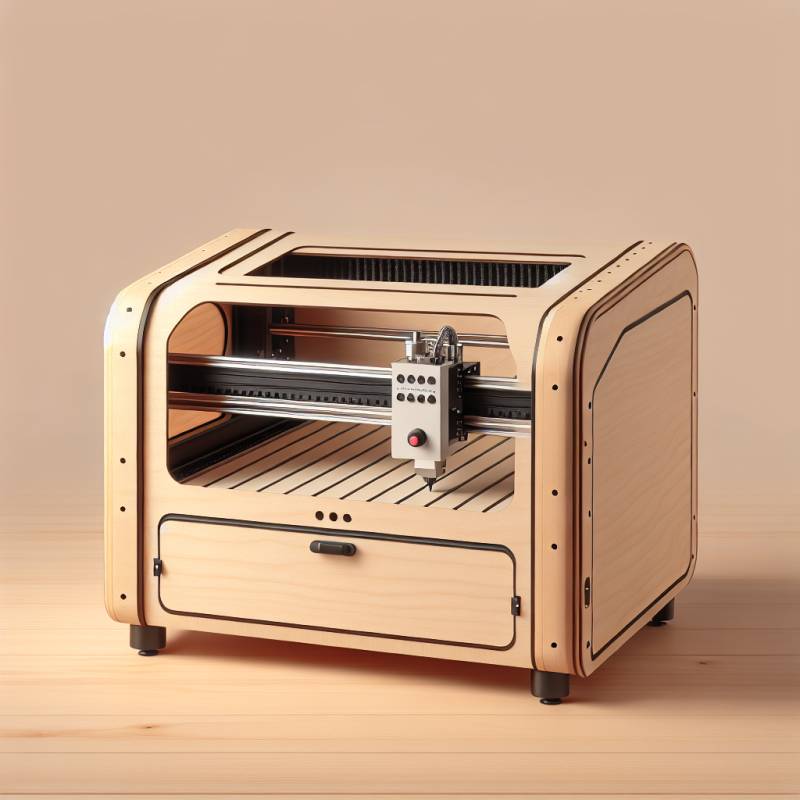
How Does a DIY Laser Cutter Work?
To fully understand how a laser cutter operates, let’s break down its basic components and functionality:
- Laser Source: The heart of the machine is the laser source. Most DIY laser cutters use diode lasers or CO2 lasers, each with its own advantages in terms of power, efficiency, and material compatibility.
- Focusing Lens: The laser beam is directed through a focusing lens to concentrate the energy onto the material being cut. This ensures precise cuts and minimizes waste.
- Motorized Axes: The machine’s motorized axes (X, Y, and sometimes Z) allow for controlled movement of the laser head, enabling accurate tracing of designs or patterns.
- Software Control: Laser cutters are typically operated using computer software that translates your design into instructions for the machine. Popular programs include CAD (Computer-Aided Design) and CAM (Computer-Aided Manufacturing) tools.
By combining these elements, a laser cutter can perform tasks ranging from simple straight cuts to complex multi-layered engravings. The process involves loading your design into the software, setting the appropriate parameters for your material, and letting the machine do the work while you supervise for safety.
Getting Started with Your DIY Laser Cutter
Now that you have a basic understanding of how a laser cutter works, it’s time to get started on your first project. Here are some tips to help you make the most of your :
- Familiarize Yourself with Safety Protocols: Always prioritize safety when working with lasers. Wear appropriate eye protection, ensure proper ventilation, and follow the manufacturer’s guidelines to avoid accidents or injuries.
- Start with Simple Projects: Begin with basic shapes and patterns to get a feel for how your laser cutter operates. This will help you understand its capabilities and limitations before tackling more complex designs.
- Experiment with Materials: Don’t be afraid to test different materials to see how they respond to the laser. Keep a journal of your findings to reference for future projects.
- Use Quality Software: Invest in reliable design software that allows you to create and customize intricate patterns. Many laser cutters come with compatible programs or offer integration with popular tools like Adobe Illustrator or Inkscape.
- Maintain Your Equipment: Regular maintenance, such as cleaning the optics and checking for wear and tear, ensures your laser cutter remains in optimal condition for years to come.
Remember, practice makes perfect! The more you use your laser cutter, the more comfortable you’ll become with its capabilities. Start small, be patient, and gradually work your way up to larger or more complex projects as you gain confidence and experience.
Tips for Achieving Perfect Cuts
Achieving clean, precise cuts is essential for any laser cutting project. Here are some tips to help you get the best results:
- Adjust Laser Power Correctly: Too much power can burn or damage your material, while too little may result in incomplete cuts. Experiment with different settings to find the sweet spot for your specific project.
- Use Proper Fixturing: Ensure your material is securely held in place during cutting to prevent movement and ensure accurate results. Use clamps or vacuum tables if necessary.
- Fine-Tune Cutting Speeds: Slower speeds are generally better for intricate designs, while faster speeds work well for straight cuts or larger areas. Adjust the speed based on your material and design complexity.
- Prevent Warping: For materials like wood or plastic, ensure they’re dry and free of moisture to prevent warping during cutting. You can also use a sacrificial layer underneath to protect against heat damage.
- Test Your Design: Before committing to your final cut, run a test on scrap material to check for alignment, speed, and power settings. This helps catch any issues early on and saves you from wasted materials.
By following these tips, you’ll be able to achieve professional-quality results with your laser cutter. Remember, the key to success is experimentation, patience, and attention to detail.
Frequently Asked Questions About Laser Cutters
If you’re new to laser cutting, you might have some questions about how it works or what you can do with it. Here are answers to some common FAQs:
- Can I cut metal with a laser cutter? Yes, but it depends on the type of laser and its power. Higher-powered lasers are typically required for cutting thicker metals, while lower-powered units may struggle with even thin sheets.
- What materials can I engrave with a laser cutter? Common materials include wood, plastic, leather, glass, and some types of metal. Always test your material first to ensure compatibility.
- Is it safe to use a laser cutter at home? Yes, as long as you follow safety guidelines, such as wearing protective eyewear and ensuring proper ventilation. Keep children and pets away from the work area when in use.
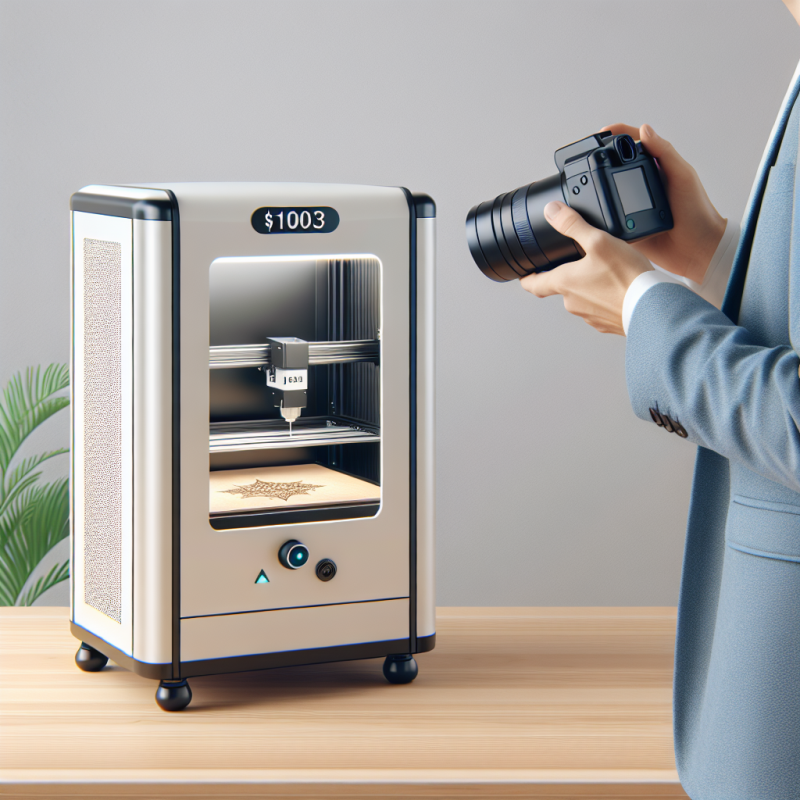
- How much does a laser cutter cost? Prices vary widely depending on the size, power, and features of the unit. Entry-level models can range from $500 to $2,000, while industrial-grade machines may cost tens of thousands of dollars.
- Can I modify my laser cutter for different uses? Absolutely! Many hobbyists customize their laser cutters with add-ons like automatic focusing lenses or multi-axis cutting heads to expand their capabilities.
These answers should help demystify some of the common concerns about laser cutting. If you have more specific questions, don’t hesitate to consult your user manual or reach out to online communities for advice.
Conclusion
Laser cutting is a versatile and powerful tool that can open up endless possibilities for creative projects, prototyping, and manufacturing. With the right equipment, knowledge, and practice, you can achieve amazing results with your . Whether you’re a hobbyist or a professional, investing in a quality laser cutter is sure to enhance your skills and bring your ideas to life.
Remember, the key to success with any tool is understanding its limitations and capabilities. Take the time to learn about your laser cutter, experiment with different materials and techniques, and most importantly, have fun! The more you use it, the more you’ll discover what it can do for you.
If you’re looking for a reliable and high-quality laser cutting solution, consider checking out LaserBodies. Their products are designed to meet the needs of both amateur and professional users, offering precision, durability, and ease of use. Visit their website today to explore their range of laser cutters and find the perfect one for your projects.
Happy creating!
Laser cutting is a versatile tool that can transform your creative ideas into reality. Whether you’re a hobbyist or a professional, understanding how to use a laser cutter effectively can open up endless possibilities. Here’s a concise guide to help you get started and make the most of your laser cutting projects:
Key Considerations for Laser Cutting
- Safety First:
- – Always wear appropriate eye protection.
- – Ensure good ventilation to avoid inhaling fumes from materials being cut.
- Familiarize Yourself with Equipment:
- – Read the user manual thoroughly.
- – Understand the different components and how they work together.
- Start Small:
- – Begin with simple projects to get comfortable with your laser cutter.
- – Experiment with various materials to understand their behavior under the laser.
- Adjust Settings Properly:
- – Fine-tune laser power, speed, and focus based on the material you’re working with.
- – Use test cuts on scrap material before committing to your final project.
- Maintain Your Equipment:
- – Regularly clean optics and check for wear and tear.
- – Keep software updated to ensure optimal performance.
Tips for Achieving Perfect Cuts
- Laser Power: Adjust to avoid burning or incomplete cuts.
- Material Fixturing: Secure materials properly to prevent movement during cutting.
- Speed Settings: Balance speed with design complexity to achieve clean cuts.
- Prevent Warping: Use dry materials and sacrificial layers to minimize damage.
Common FAQ Answers
- Can I cut metal? Yes, but higher power is needed for thicker metals.
- Engraving Materials: Suitable for wood, plastic, leather, glass, and some metals.
- Home Safety: Safe with proper precautions like protective eyewear and ventilation.
- Cost Range: Entry-level models start around $500-$2,000.
Conclusion
Investing in a quality laser cutter can elevate your projects, whether for creativity or manufacturing. Remember to learn about its capabilities, experiment, and prioritize safety. For reliable solutions, consider checking out brands like LaserBodies, known for precision and durability.
Happy creating!