

The Ultimate Guide to Building Your Own DIY Laser Cutter Fume Extractor
When working with a diy laser cutter fume extractor, safety is paramount. Whether you’re engraving wood, metal, or plastic, the process generates harmful fumes and particulates that can pose serious health risks if not properly ventilated. In this article, we’ll explore how to build your own DIY laser cutter fume extractor, discuss its importance, and address common questions about its design and functionality.
Why You Need a Fume Extractor for Your Laser Cutter
Laser cutting and engraving are popular hobbies and professional practices, but they come with hidden dangers. The intense heat generated by the laser beam can cause materials to burn, release toxic fumes, and produce fine particulate matter. These emissions can include volatile organic compounds (VOCs), carbon monoxide, and other hazardous substances that are harmful when inhaled. Without proper ventilation, these fumes can quickly accumulate in your workspace, leading to long-term health issues.
A is designed to capture and remove these harmful emissions directly at the source. By installing a fume extraction system, you can protect yourself and your workspace from contamination while ensuring a cleaner, safer working environment.
DIY vs. Commercial Fume Extractors
Before diving into the DIY project, it’s essential to consider whether building your own extractor is the right choice. Commercial fume extractors are widely available and often come with advanced features like built-in filtration systems, adjustable airflow, and noise-reducing components. However, they can be expensive, especially for high-performance models.
On the other hand, building a DIY fume extractor allows you to customize the system to fit your specific needs and budget. You can repurpose materials you already have, such as old fans, ducting, or filters, to create an effective extraction system. This approach not only saves money but also gives you hands-on experience in designing and assembling a functional tool for your laser cutting setup.
Question: Is it worth the effort to build a DIY fume extractor instead of buying a commercial one?
The answer depends on your skills, budget, and specific requirements. If you’re comfortable with DIY projects and have access to the necessary materials, building your own system can be a cost-effective solution. However, if you need a high-performance extractor with advanced features, it might be more practical to opt for a commercial model.
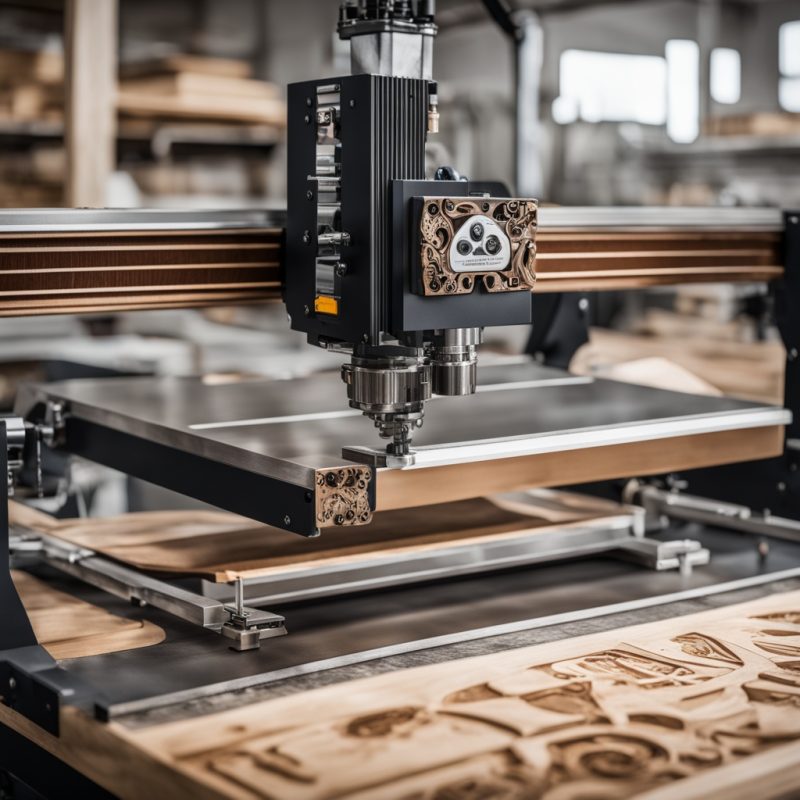
How a Laser Cutter Fume Extractor Works
A fume extractor works by creating negative pressure around the laser cutting area, pulling in contaminated air and filtering out harmful particulates before recirculating clean air back into the workspace. The system typically consists of several components:
- An intake hood or ducting to capture fumes directly from the laser cutter
- A fan or blower to generate airflow
- Filtration media, such as HEPA filters, activated carbon filters, or both
- Ducting or piping to route air through the system
- An exhaust outlet to release filtered air outside (optional)
The efficiency of your fume extractor depends on the quality of these components and how well they are integrated into your laser cutting setup. A poorly designed system may fail to capture all emissions, leaving you exposed to hazardous fumes.
Designing Your DIY Fume Extractor
Before starting your project, it’s crucial to plan out the design of your DIY laser cutter fume extractor. Consider the following factors:
- Material Compatibility: Determine which materials you’ll be cutting and what kind of emissions they produce. This will help you choose the appropriate filtration system.
- Airflow Requirements: Calculate the CFM (cubic feet per minute) needed to effectively capture fumes. A general rule is to have at least 100 CFM for small laser cutters, but this can vary depending on your setup.
- Space Constraints: Measure your workspace to ensure the extractor fits without causing obstructions or safety hazards.
Question: What type of filter should I use for my DIY fume extractor?
The answer depends on the materials you’re cutting. For example, HEPA filters are excellent for capturing fine particulates like dust and soot, while activated carbon filters are effective at removing VOCs and other gaseous emissions. If you’re working with multiple materials, a combination of both filter types may be necessary.
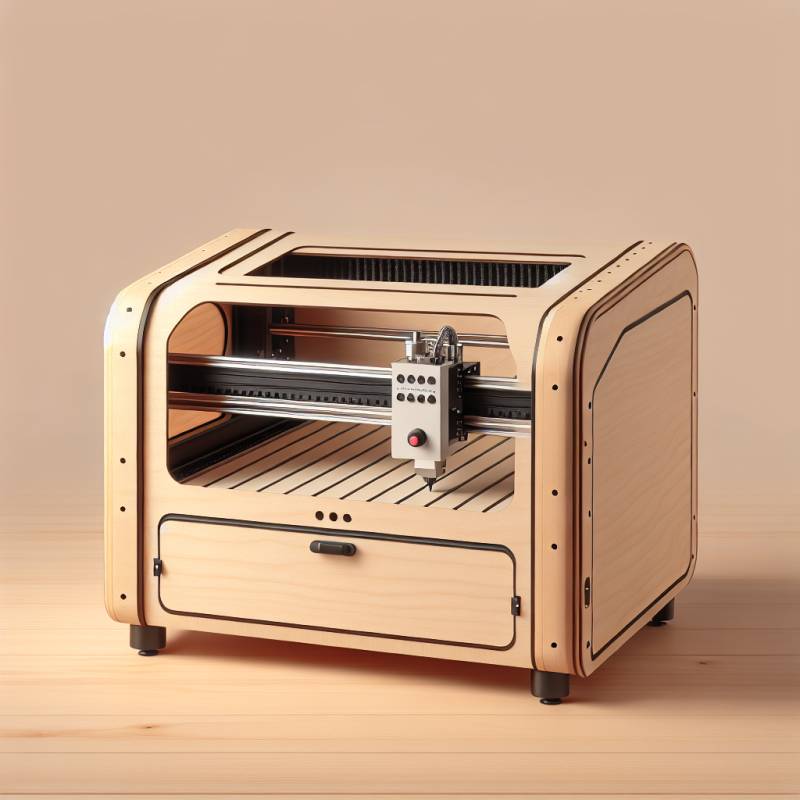
Selecting the Right Components
Building a DIY fume extractor requires careful selection of components to ensure optimal performance and safety. Here’s a breakdown of essential parts:
- Fan or Blower: The heart of your system, responsible for generating airflow. Look for a fan with adjustable speed settings to accommodate different cutting materials.
- Ducting: Use flexible ducting to connect the intake hood to the fan and filtration unit. Ensure the ducting is sturdy enough to handle the air pressure generated by the fan.
- Filtration Media: Choose filters based on your specific needs, as discussed earlier. Remember to replace or clean these regularly to maintain efficiency.
- Intake Hood: Design an intake hood that fits over your laser cutter, creating a seal to capture fumes effectively.
Question: Can I use a regular household fan for my fume extractor?
While it’s possible to repurpose a household fan, it may not provide sufficient airflow or filtration. A dedicated fan designed for industrial use is recommended for optimal performance and safety.
Assembling Your DIY Fume Extractor
Once you’ve selected your components, it’s time to assemble your DIY laser cutter fume extractor. Follow these steps:
- Cut and shape the ducting to fit your workspace, ensuring all connections are secure.
- Attach the intake hood over your laser cutter, making sure it creates a tight seal to prevent fumes from escaping.
- Connect the ducting to both the intake hood and the fan unit, ensuring proper alignment for airflow.
- Install the filtration media according to the manufacturer’s instructions, securing them in place with clamps or brackets.
- Power on the system and test it by running your laser cutter at a low setting. Monitor airflow and adjust the fan speed as needed.
Question: How do I ensure my DIY fume extractor is functioning properly?
Regular testing and maintenance are key to ensuring optimal performance. Check for leaks in the ducting, inspect filters for wear and tear, and clean or replace them as needed. Additionally, monitor your workspace for any lingering odors or particulates, which may indicate a need for system adjustments.
Safety Precautions
Working with lasers and building DIY equipment comes with inherent risks. Always prioritize safety by following these guidelines:
- Ensure your laser cutter is properly enclosed to prevent accidental exposure to the laser beam.
- Use protective eyewear when operating the laser cutter, even if it’s inside an enclosure.
- Avoid running the system in confined spaces without proper ventilation or exhaust capabilities.
- Keep flammable materials away from the fume extractor and its components.
Question: Do I need to vent my DIY fume extractor outside?
If your workspace has adequate ventilation, it’s possible to recirculate filtered air back into the room. However, if you’re cutting materials that produce highly toxic or irritating fumes, it’s safer to exhaust the filtered air outside using a vent duct.
Maintenance and Upkeep
A well-maintained DIY laser cutter fume extractor will serve you for years. Follow these tips to keep your system running smoothly:
- Clean or Replace Filters Regularly: Depending on usage, filters may need cleaning or replacement every few months. Check the manufacturer’s guidelines for specific recommendations.
- Inspect Ducting and Connections: Look for signs of wear, cracks, or leaks in the ducting that could compromise airflow efficiency.
- Lubricate Moving Parts: Apply a small amount of lubricant to fans and other moving components to ensure smooth operation and prevent premature wear.
Question: How often should I maintain my DIY fume extractor?
A good rule of thumb is to inspect and clean your system at least once every three months or more frequently if you use it heavily. Regular maintenance not only extends the lifespan of your components but also ensures consistent performance.
Troubleshooting Common Issues
No matter how well you design and build your DIY fume extractor, you may encounter some common issues along the way. Here’s how to address them:
- Inadequate Airflow: If your system isn’t capturing fumes effectively, check for leaks in the ducting or blockages in the filters. You may also need a more powerful fan.
- Frequent Filter Clogs: This could indicate that your filtration media isn’t suited for your specific use case. Consider upgrading to a higher-quality filter or adding an additional pre-filter to capture larger particles before they reach the main filter.
- Noisy Operation: Excessive noise from the fan may be due to loose parts or lack of lubrication. Tighten connections and apply lubricant as needed.
Question: What should I do if my DIY fume extractor stops working?
If your system suddenly stops functioning, check for power supply issues first. Ensure all connections are secure and inspect for any mechanical failures. If you’re unable to identify the problem, consult the manufacturer’s troubleshooting guide or seek assistance from a professional.
Conclusion
Building a DIY laser cutter fume extractor is an excellent way to enhance safety and efficiency in your workspace. By following these steps and adhering to best practices, you can create a reliable system that effectively captures and filters hazardous fumes while minimizing noise and energy consumption. Remember to prioritize maintenance and safety to ensure long-term performance and protection for yourself and others working in the area.
DIY Laser Cutter Fume Extractor Guide
Introduction:
A DIY laser cutter fume extractor is essential for maintaining a safe workspace by capturing and filtering harmful fumes generated during laser cutting. This guide provides step-by-step instructions, tips, and safety precautions to help you build an effective system.
—
**Steps to Build Your DIY Fume Extractor**
- Design the Intake Hood:
- – Create a custom hood that fits snugly over your laser cutter to capture fumes effectively.
- – Ensure it creates a tight seal to prevent fumes from escaping.
- Select Ducting:
- – Use flexible, sturdy ducting to connect the intake hood, fan, and filtration unit.
- – Measure and cut the ducting to fit your workspace layout securely.
- Choose Filtration Media:
- – Select filters based on the materials you’re cutting (e.g., HEPA for fine particles).
- – Consider adding a pre-filter to extend main filter life by capturing larger particles first.
- Install Components:
- – Securely attach the intake hood, ducting, fan, and filtration unit.
- – Follow manufacturer instructions for installing filters and connecting components.
- Test System:
- – Run the system at low power initially to check airflow and adjust fan speed as needed.
- – Monitor for leaks or inefficiencies and make adjustments accordingly.
—
**Safety Precautions**
- Enclose Laser Cutter: Ensure it’s properly enclosed to prevent laser exposure.
- Protective Eyewear: Always wear protective eyewear when operating the laser cutter.
- Ventilation: If cutting highly toxic materials, vent filtered air outside using a duct.
- Flammable Materials: Keep flammables away from the extractor and its components.
—
**Maintenance Tips**
- Clean/Replace Filters: Inspect and clean or replace filters every 3 months or as needed.
- Inspect Ducting: Check for wear, cracks, or leaks in the ducting to maintain airflow efficiency.
- Lubricate Parts: Apply lubricant to fans and moving components to ensure smooth operation.
—
**Troubleshooting Common Issues**
- Inadequate Airflow:
- – Check for leaks, blockages, or use a more powerful fan if necessary.
- Frequent Filter Clogs:
- – Upgrade to higher-quality filters or add a pre-filter to capture larger particles.
- Noisy Operation:
- – Tighten connections and apply lubricant to reduce noise from moving parts.
—
**Conclusion**
Building a DIY laser cutter fume extractor enhances safety and efficiency in your workspace. By following these guidelines, you can create a reliable system that effectively captures and filters hazardous fumes. Prioritize maintenance and safety for long-term performance and protection.