
The Ultimate Guide to Laser Engraving Tumblers: Step-by-Step Instructions
Laser engraving tumblers has become an increasingly popular way to add a personal touch to everyday items. Whether you’re creating custom gifts, adding branding to promotional materials, or simply expressing your creativity, laser engraving offers precision and durability that traditional methods can’t match. In this article, we’ll walk you through the process of how to laser engrave tumblers step-by-step, ensuring you achieve professional-quality results every time.
1. Understanding Laser Engraving
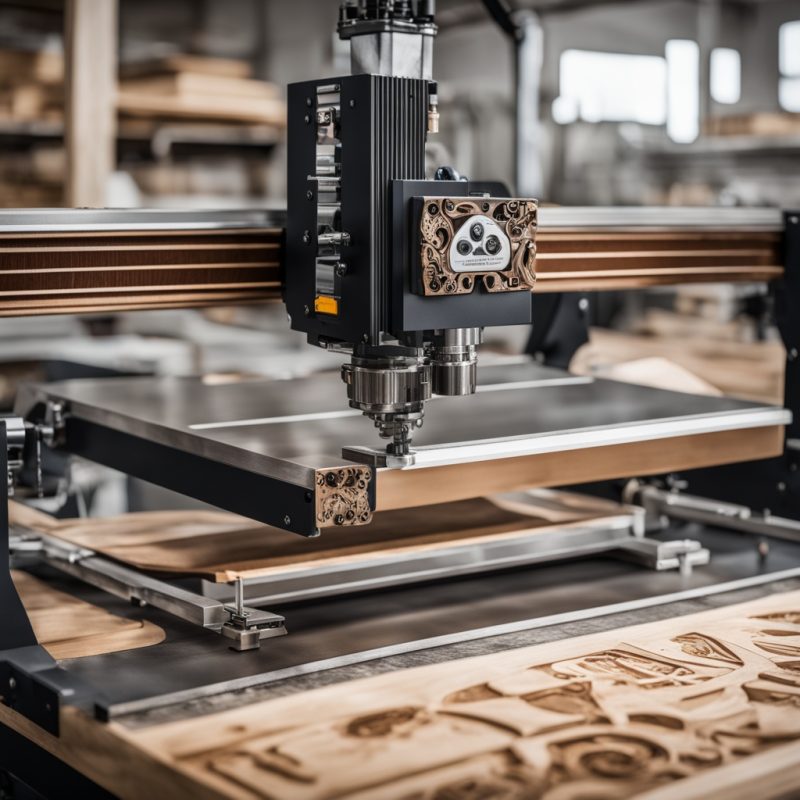
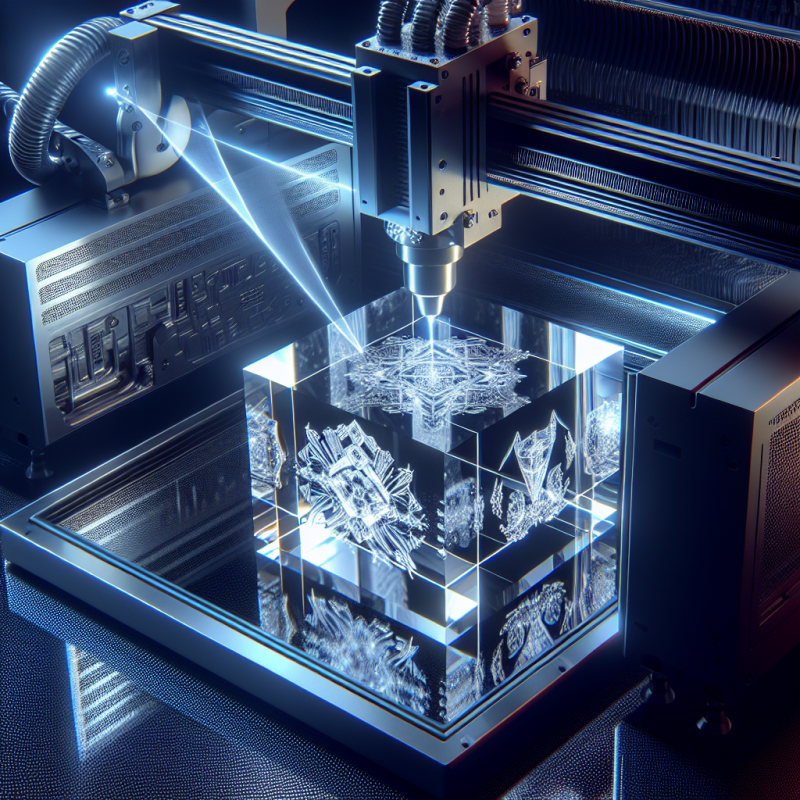
Laser engraving is a process that uses a focused beam of light to etch designs or text onto various materials. Unlike traditional engraving methods, laser engraving is faster, more precise, and suitable for a wide range of surfaces, including glass, metal, and wood. For tumblers, glass is the most common material used, but you can also work with acrylic or even ceramic tumblers if your laser machine supports it.
Before diving into the engraving process, it’s essential to understand the basics of how a laser engraver works. The machine emits a highly focused beam that removes material from the surface, creating permanent designs. The intensity and speed of the laser can be adjusted depending on the material and desired depth of the engraving.
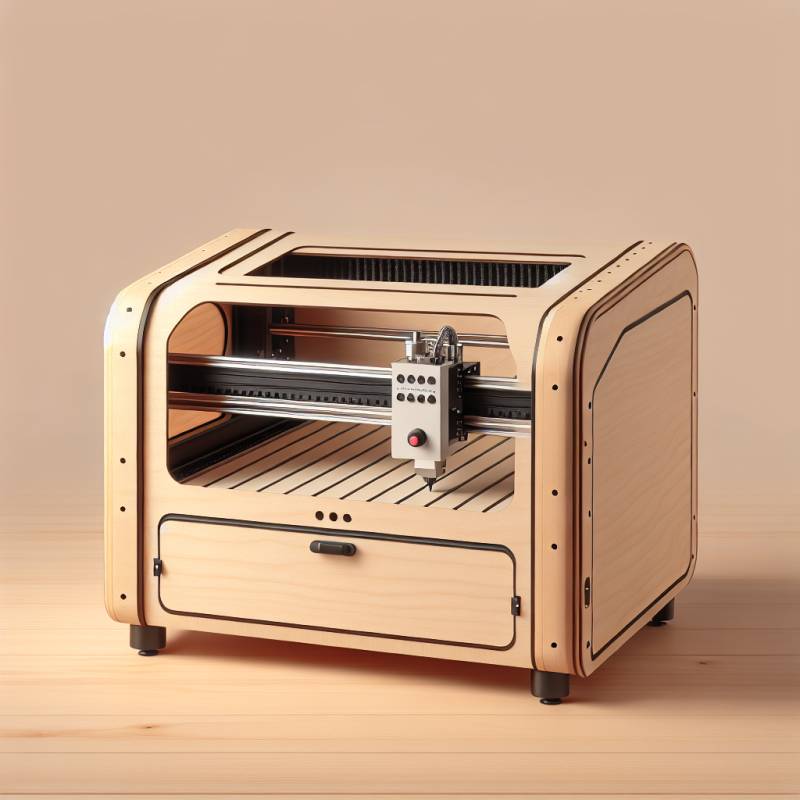
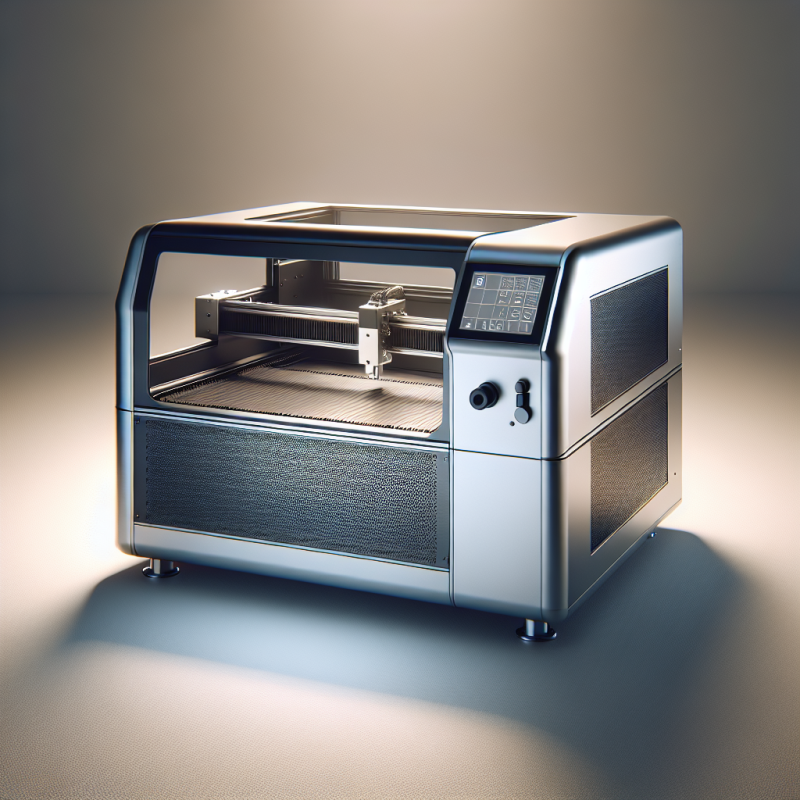
2. Preparing Your Equipment
To begin laser engraving tumblers, you’ll need a few essential tools and materials:
- A laser engraver compatible with your tumbler material.
- Blank tumblers made of glass, acrylic, or ceramic.
- Laser-safe cleaning supplies to prepare the surface.
- Design software (e.g., CorelDRAW, Adobe Illustrator) for creating your artwork.
- Safety goggles and gloves to protect yourself during the engraving process.
Ensure your laser machine is properly calibrated and that all safety precautions are in place. Never operate a laser engraver without protective eyewear.
3. Designing Your Engraving
The design phase is where you bring your ideas to life. Start by sketching out your concept on paper or using digital software to create a digital mockup. Keep in mind the size of the tumbler and ensure your design fits within the engravable area.
When designing for laser engraving, simplicity often yields the best results. Complex designs with fine details can be challenging to execute, especially on curved surfaces like tumblers. Consider using bold lines and clean fonts for optimal clarity.
If you’re unsure where to start, there are plenty of tutorials available online, including this helpful guide on . These resources can provide tips on scaling designs and ensuring proper alignment.
4. Preparing the Tumbler for Engraving
Before you begin engraving, it’s crucial to prepare your tumbler properly. Start by cleaning the surface with a laser-safe cleaner to remove any dirt or residue. This step ensures the laser beam interacts correctly with the material, resulting in a crisp and precise engraving.
If you’re working with glass tumblers, avoid using abrasive cleaners that could scratch the surface. Instead, opt for a gentle cleanser specifically designed for use with laser engravers. Dry the tumbler thoroughly before placing it under the laser bed.
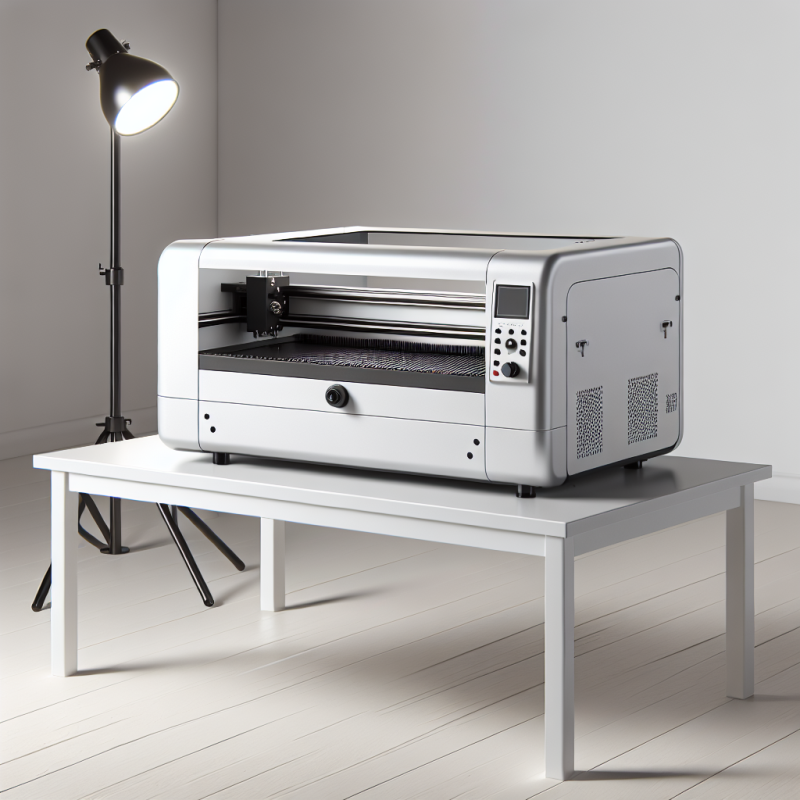
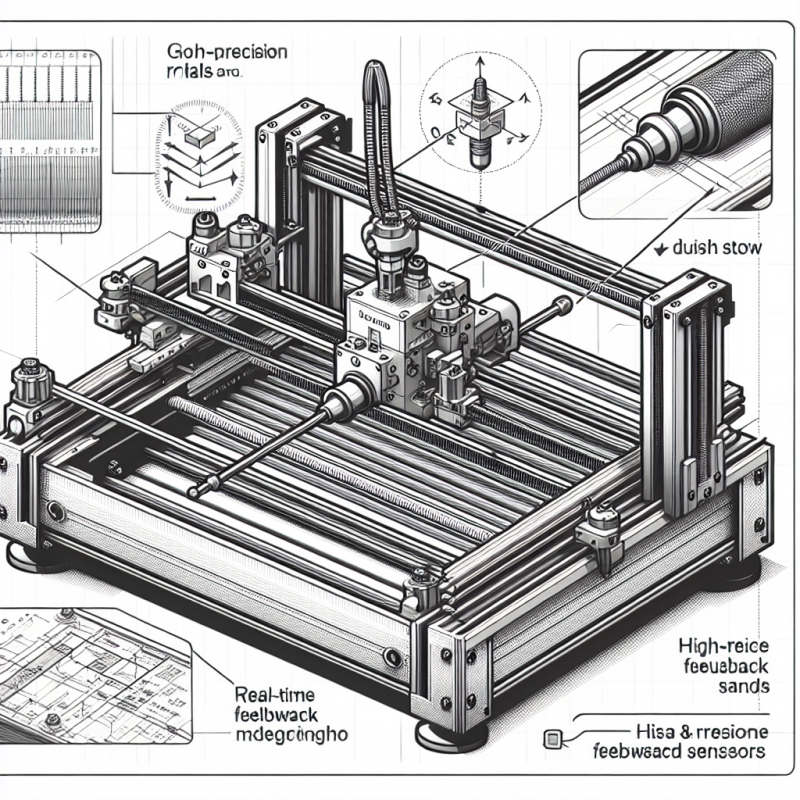
5. Setting Up the Laser Engraver
Once your design is ready and your tumbler is clean, it’s time to set up the laser engraver. Begin by importing your design into the machine’s software. Most laser engravers come with user-friendly interfaces that allow you to adjust settings such as power level, speed, and focus distance.
For glass tumblers, start with a low power setting to avoid shattering the material. Gradually increase the power as needed, testing on scrap material first if possible. Adjust the focus distance to ensure the laser beam is properly aligned with the surface of the tumbler.
If you’re new to laser engraving, consider practicing on a sample piece before working on your final project. This will help you get a feel for the machine and fine-tune your settings for the best results.
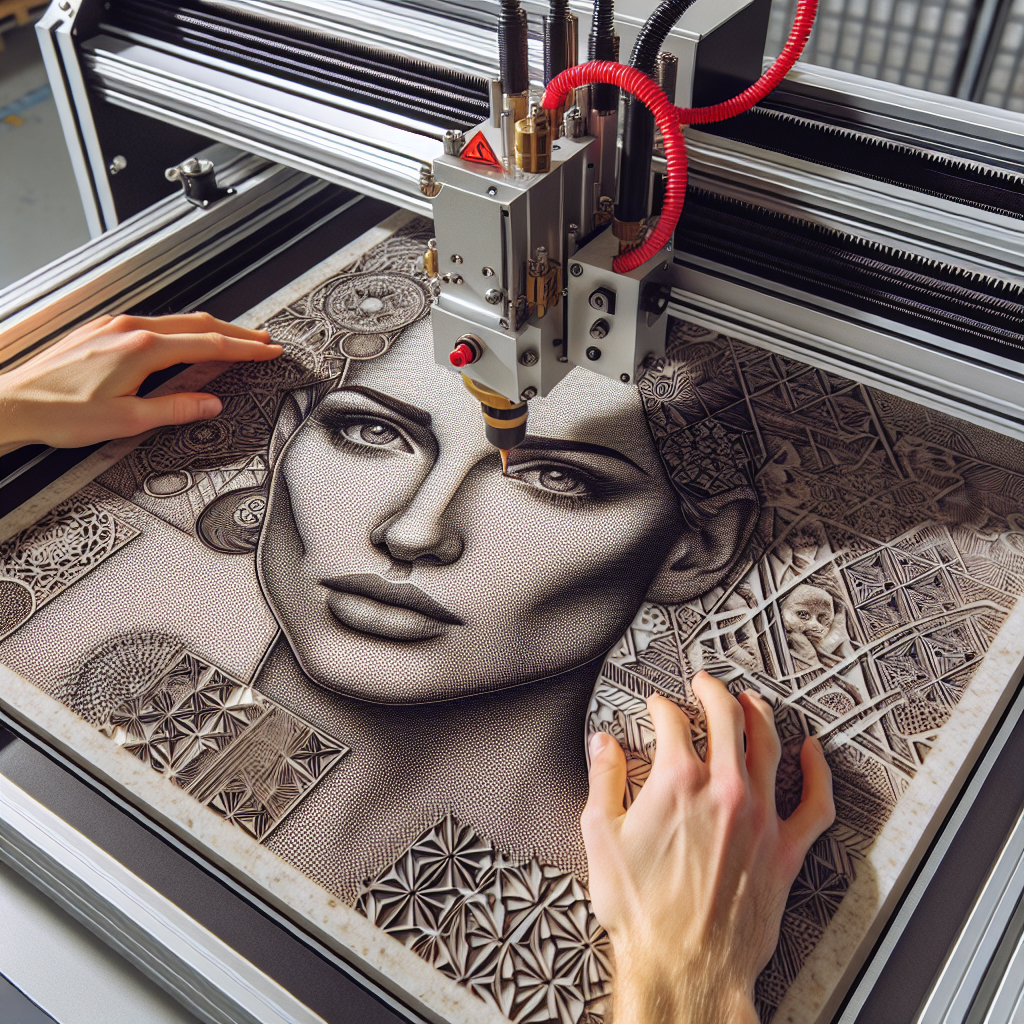
6. Engraving Your Design
With everything set up, it’s time to engrave your design. Position the tumbler securely under the laser head, ensuring it doesn’t move during the engraving process. Activate the machine and watch as the laser etches your design into the surface.
Paying attention to the machine’s performance is crucial. If you notice uneven engraving or burn marks, pause the machine and adjust the settings. Lowering the power or slowing down the speed can often resolve these issues.
Remember to take breaks if working on a large project. Laser engravers generate heat, which can affect both the machine and the material over time. Allowing the machine to cool down periodically ensures optimal performance and prevents potential damage to your tumbler.
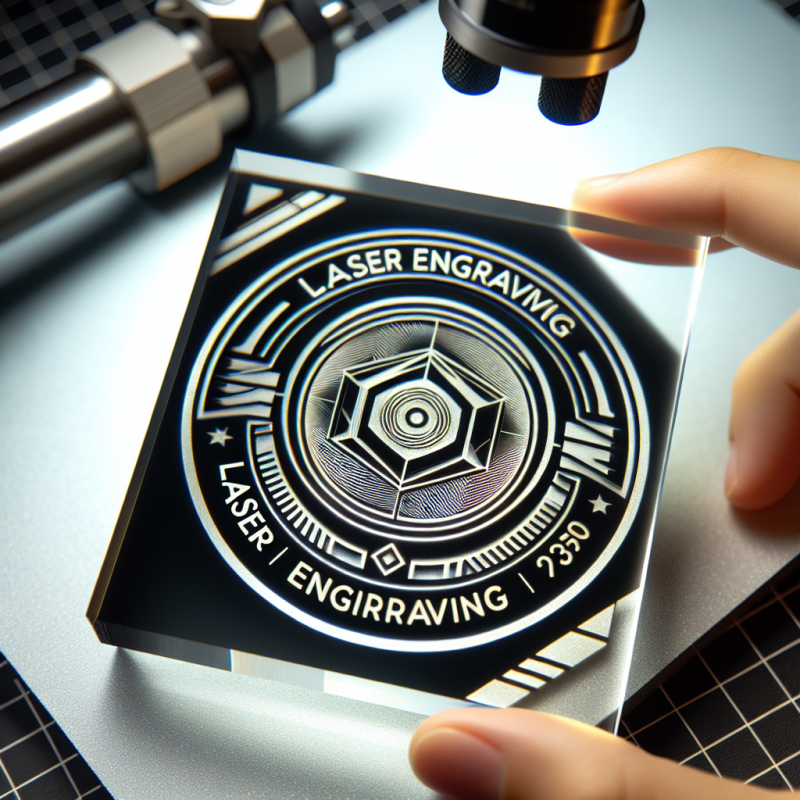
7. Finishing Touches
Once the engraving is complete, inspect your work for any imperfections or areas that need touch-up. Use a soft cloth to clean the surface of the tumbler, removing any debris left behind by the laser.
If desired, you can enhance your design by applying a coat of lacquer or varnish to the engraved area. This not only protects the engraving but also adds a glossy finish that complements the tumbler’s appearance.
8. Safety Tips
Laser engraving is a safe process when proper precautions are taken. Always wear safety goggles and avoid looking directly at the laser beam. Keep flammable materials away from the workspace and ensure good ventilation to minimize exposure to fumes generated during engraving.
If you’re working with glass tumblers, handle them with care to prevent accidental drops or impacts that could shatter the material. Store completed projects in a safe place until they’re ready for use or display.
9. Troubleshooting Common Issues
Even experienced laser engravers encounter challenges from time to time. If you’re having trouble with your engraving, consider the following troubleshooting tips:
- Blurry designs: Check the focus distance and ensure the tumbler is properly aligned under the laser head.
- Burn marks: Lower the power setting or increase the speed to reduce prolonged exposure on the surface.
- Uneven engraving: Test your settings on scrap material first to find the optimal combination for your tumbler.
If you’re still struggling, consult the user manual for your laser engraver or seek advice from online communities. There are also helpful resources available, such as this guide on , that can provide additional tips and insights.
10. Final Thoughts
Laser engraving tumblers is a rewarding craft that allows you to create unique, personalized pieces for yourself or as gifts for others. With the right tools, preparation, and technique, you can produce stunning designs that showcase your creativity and skill.
Don’t be afraid to experiment with different materials, styles, and techniques. The more you practice, the better you’ll become at mastering this versatile art form. Happy engraving!
Laser engraving tumblers is a creative and rewarding process that allows you to craft personalized designs on various materials like glass, acrylic, or ceramic. Here’s a step-by-step guide to help you achieve professional results:
1. **Understanding Laser Engraving**
– Laser engraving uses a focused light beam to etch designs into surfaces.
– Common materials for tumblers include glass, which is popular due to its clarity and durability.
2. **Gathering Equipment**
– **Laser Engraver**: Ensure it’s compatible with your tumbler material.
– **Blank Tumblers**: Choose from glass, acrylic, or ceramic.
– **Design Software**: Use tools like CorelDRAW or Adobe Illustrator to create your artwork.
– **Cleaning Supplies**: Laser-safe cleaners for preparing the surface.
– **Safety Gear**: Safety goggles and gloves are essential.
3. **Designing Your Engraving**
– Start with a simple design, using bold lines and clean fonts for clarity.
– Scale your design appropriately to fit the tumbler’s size.
– Consider tutorials or guides (like [this one](https://lasercleaningmachine.cc/)) for tips on design and alignment.
4. **Prepping the Tumbler**
– Clean the surface with a laser-safe cleaner to remove dirt or residue.
– Avoid abrasive cleaners for glass to prevent scratching.
5. **Setting Up the Laser Engraver**
– Import your design into the machine’s software.
– Adjust settings: Start with low power on glass, then increase as needed.
– Test on scrap material first to refine settings.
6. **Engraving Your Design**
– Securely position the tumbler under the laser head.
– Monitor the process and adjust settings if necessary (e.g., reduce power or speed for uneven results).
– Take breaks to allow the machine to cool down.
7. **Finishing Touches**
– Clean the engraved surface with a soft cloth.
– Apply lacquer or varnish for protection and a glossy finish.
8. **Safety Tips**
– Wear safety goggles and handle flammable materials carefully.
– Ensure good ventilation to avoid fume exposure.
– Handle glass tumblers with care to prevent breakage.
9. **Troubleshooting**
– Blurry designs: Check focus distance and alignment.
– Burn marks: Lower power or increase speed.
– Uneven engraving: Test settings on scrap material first.
For further assistance, refer to resources like [this guide](https://lasercleaningmachine.cc/) for additional tips and insights.
10. **Final Thoughts**
– Experiment with materials and styles to enhance your skills.
– Laser engraving tumblers is a versatile art form that allows for unique, personalized creations.
Happy engraving!